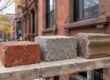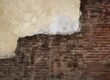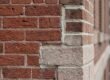
Late fall is the last comfortable window to look closely at your building’s brick, stone, and mortar before freezing weather arrives. A practical NYC masonry inspection checklist helps you catch open joints, loose bricks, and water entry points while repairs are still manageable and contractors can work in reasonable temperatures.
Winter matters because water is the main enemy of masonry. When moisture gets into cracks and porous material, then freezes and thaws repeatedly, small defects can grow into spalling faces, displaced units, and interior leaks. For brownstone owners, landlords, and building managers across the five boroughs, a careful walk-around now can prevent emergency repairs in February.
Key Takeaways
- Inspect in dry daylight conditions and photograph every issue so you can track changes over time.
- Prioritize anything that lets water in: open mortar joints, cracked copings, failed sealant, and clogged drainage.
- Treat bulging walls, displaced bricks, or loose pieces above a sidewalk as urgent and call a professional right away.
- Check parapets, chimneys, lintels, and sills closely, since these exposed elements often deteriorate first.
- Schedule mortar and masonry repairs before temperatures drop too low for proper curing.
- If your building is taller than six stories, coordinate your seasonal checks with your FISP (Local Law 11) obligations.
Why Winter Is So Hard on NYC Masonry
Brick, brownstone, limestone, and mortar all absorb some water. During a typical New York winter, temperatures move above and below freezing many times. Each freeze expands trapped water, which puts pressure on the surrounding material.
Over several seasons, that pressure opens hairline cracks, loosens mortar, and breaks off brick faces. Wind-driven rain, melting snow on ledges, and de-icing salts near stoops and sidewalks add to the problem. You can learn more about these seasonal patterns in our article on how NYC weather damages brickwork.
The key point for property owners is simple: damage that looks minor in October often looks much worse by spring. Sealing up water paths before the first hard freeze is the most effective step you can take.
How to Prepare for Your Inspection
You do not need special equipment for a basic visual review, but a little planning helps.
- Pick the right day. Choose a dry, clear day so you can see cracks, stains, and gaps without glare or wet surfaces hiding them.
- Bring tools for observing, not repairing. Binoculars, a phone camera with zoom, a flashlight, and a notepad are enough.
- Work from the ground and safe vantage points. Use windows, the street, and neighboring rooftops where you have permission. Do not climb ladders or lean over parapets without proper training and fall protection.
- Create a simple log. Note the elevation (front, rear, side), floor level, and a photo reference for each issue.
Your goal is to identify conditions, not diagnose them. A qualified contractor or design professional should evaluate anything that looks structural.
The Pre-Winter NYC Masonry Inspection Checklist
Use the table below as a quick reference while you walk your property.
| Building Area | What to Look For | Why It Matters Before Winter |
|---|---|---|
| Mortar joints | Recessed, crumbling, or missing mortar; gaps you can see into | Open joints let water into the wall, where it freezes |
| Brick and stone faces | Spalling, flaking, cracks, loose or shifted units | Damaged faces absorb more water and can fall |
| Parapets and copings | Cracked caps, open coping joints, leaning sections | Top-of-wall water entry spreads damage downward |
| Lintels and sills | Rust staining, cracks at corners, sagging over openings | Corroding steel lintels expand and crack masonry |
| Chimneys | Missing mortar, cracked crowns, leaning stacks | Exposed on all sides to wind, rain, and freeze cycles |
| Stoops and steps | Cracked treads, loose railings, hollow-sounding stone | Ice and salt accelerate damage at entrances |
| Drainage | Clogged gutters, broken leaders, water stains below scuppers | Concentrated runoff saturates walls |
| Interior side | Damp plaster, peeling paint, efflorescence near exterior walls | Signals water already moving through the masonry |

Mortar Joints
Start with the mortar, because it is designed to be the sacrificial part of the wall. Look for joints that are recessed deeper than the brick edge, crumbling when lightly scratched, or missing entirely. Pay extra attention to areas below windows, near downspouts, and on exposed corners.
Widespread joint failure usually points toward professional brick pointing, where deteriorated mortar is removed and replaced with a compatible mix. On older buildings, the replacement mortar should be suited to the existing masonry rather than chosen by default.
Brick and Stone Surfaces
Scan for faces that have popped off, crumbled, or developed cracks. Spalling often shows up as small red or brown fragments on the sidewalk or window ledges. Brownstone may show delamination, where layers peel away like pages.
Note whether damage is isolated to a few units or spread across a wall. Our guide to spalling brick repair in NYC explains the common causes and repair approaches in more detail.
Cracks and Movement
Not every crack signals a structural problem, but patterns matter. Watch for:
- Stair-step cracks following mortar joints
- Vertical cracks at corners or near openings
- Horizontal cracks with any outward displacement
- Bulging or leaning sections of wall
- Gaps between the masonry and window frames that have widened
Any sign of bulging, displacement, or active movement needs a professional evaluation promptly, especially above a public sidewalk.
Check the Roofline: Parapets, Copings, and Chimneys
The top of a masonry wall takes the most weather and gets the least attention. Parapets are exposed on both sides, and coping stones shed water only if their joints remain sealed.
From a safe position, look for cracked or shifted copings, open joints between caps, vegetation growing from the wall, and parapets that appear to lean. Inside the top floor, check for ceiling stains along exterior walls, since parapet leaks often show up there first. A dedicated parapet wall inspection is worth scheduling if you see any of these conditions or have not had one in several years.
For chimneys, check the crown for cracks, the flashing where it meets the roof, and the mortar on all faces. Unused chimneys on older brownstones are frequently overlooked and can deteriorate significantly before anyone notices.
Lintels, Sills, and Openings
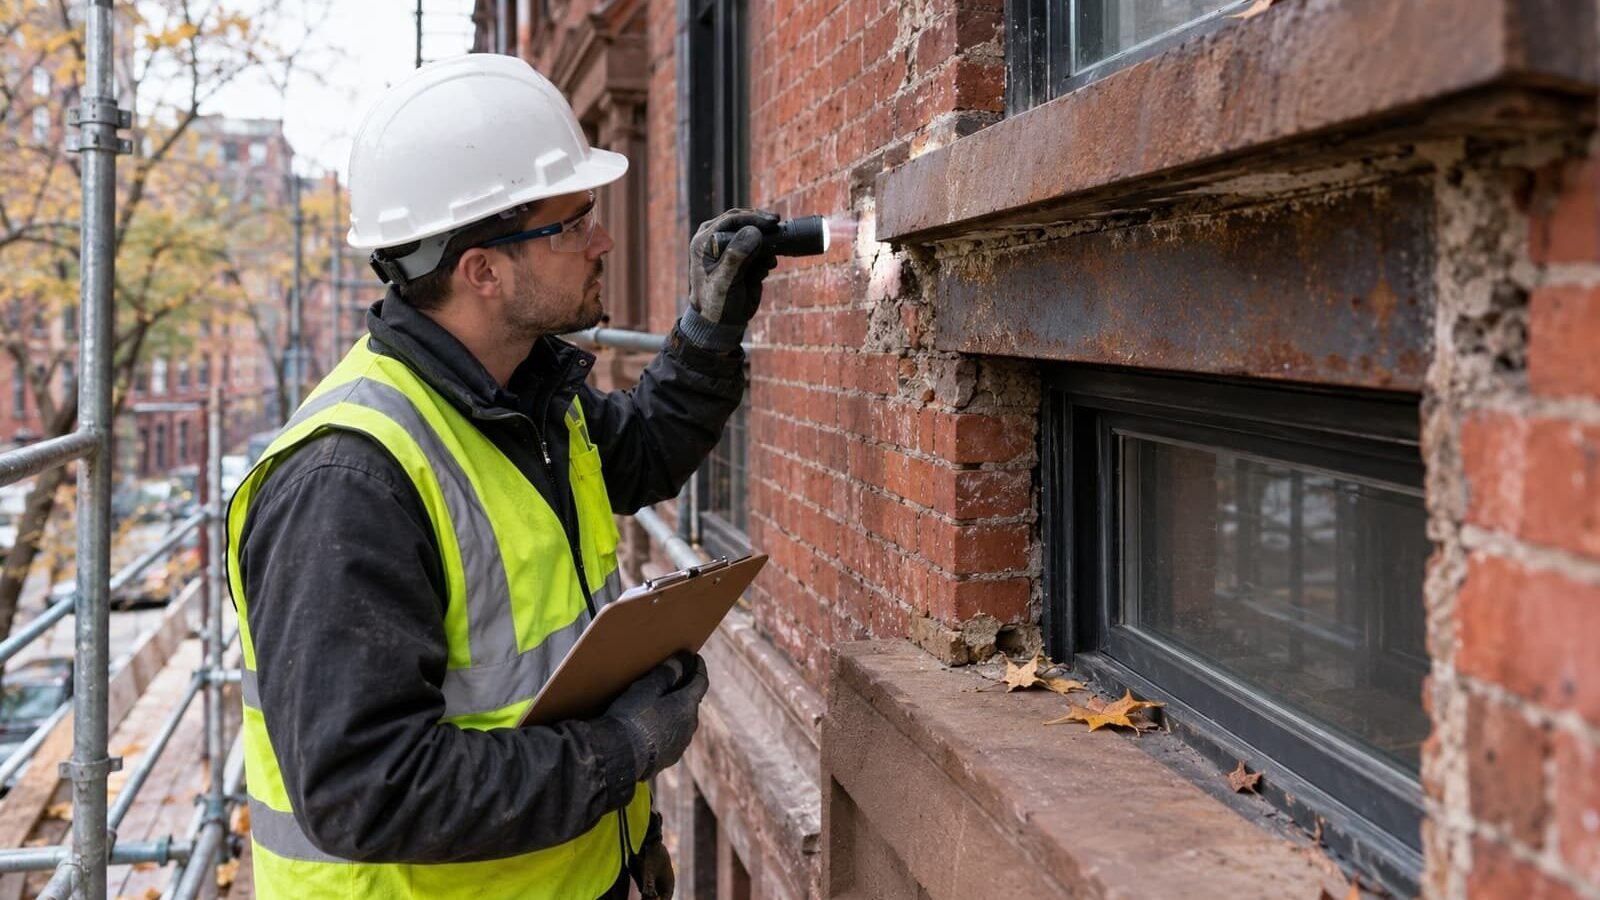
Windows and doors interrupt the masonry and create natural weak points. Many older NYC buildings have steel lintels above openings. When those lintels rust, the steel expands and can crack or lift the masonry around them.
Look for:
- Rust stains running down from the top of window openings
- Horizontal cracks at lintel ends
- Sills that slope back toward the building instead of away from it
- Cracked or missing sealant around frames
Addressing these before winter keeps water from entering at one of the most vulnerable spots in the facade.
Water Management and Drainage
Many masonry problems begin with water that should have been carried away from the building. Before winter, confirm that gutters are clear, leaders are connected and discharging away from the foundation, and roof scuppers are not overflowing onto wall surfaces.
Dark staining, green growth, or white efflorescence on the wall usually marks a spot where water regularly flows or collects. If the masonry itself is allowing water through, professional waterproofing services may be appropriate after repairs are made. Coatings and sealers should be chosen carefully, since some products can trap moisture inside older masonry rather than letting it dry out.
What You Can Monitor vs. What Needs a Professional
A seasonal owner walk-through is valuable, but it has limits. Use this table to decide on next steps.
| Condition | Owner Action | When to Call a Professional |
|---|---|---|
| A few recessed mortar joints at ground level | Photograph and monitor | If joints are open deeply or spread across a wall |
| Minor efflorescence | Note location and check drainage nearby | If it returns after rain or appears with interior dampness |
| Small hairline crack in one brick | Photograph and recheck next season | If it widens or more cracks appear nearby |
| Loose brick or stone fragments | Keep the area below clear | Immediately, especially above a sidewalk or entrance |
| Bulging, leaning, or displaced masonry | Restrict access below if possible | Immediately |
| Rusted lintel with cracking | Document it | Before winter, since damage tends to progress |
When in doubt, err on the side of a professional assessment. A contractor can evaluate conditions up close that are not safely visible from the ground.
Brownstones and Historic Buildings
NYC’s brownstones and historic row houses need a slightly different approach. Brownstone is a sandstone that weathers differently from brick, and many older buildings were built with softer lime-based mortars. Using a mortar that is harder or less permeable than the original masonry can cause new damage over time.
If your building is in a designated historic district or is an individual landmark, some exterior repairs may require approval from the NYC Landmarks Preservation Commission before work begins. Plan ahead, since approvals can affect your repair timeline. Our brickwork maintenance checklist for NYC brownstones offers additional guidance for ongoing care of these properties.
How Your Checklist Relates to FISP (Local Law 11)
A seasonal owner inspection is not a substitute for required facade inspections. Under the city’s Facade Inspection and Safety Program, owners of buildings higher than six stories must have their exterior walls and appurtenances inspected every five years by a Qualified Exterior Wall Inspector, who files a technical report classifying the facade as Safe, SWARMP, or Unsafe. The NYC Department of Buildings facade inspection requirements explain the program, deadlines, and owner responsibilities.
For FISP buildings, your pre-winter walk-through is still useful. It helps you track conditions flagged as SWARMP between cycles, so they can be repaired before the next inspection and are less likely to deteriorate into unsafe conditions. Smaller buildings that are not subject to FISP benefit just as much from regular monitoring, since owners remain responsible for keeping their facades safe.

Timing Your Repairs Before the Cold Sets In
Mortar and many masonry repair materials need suitable temperatures to cure properly. Once cold weather settles in, some work may need to be postponed or require protective measures such as enclosures, which can add time and complexity.
Practical timing tips:
- Complete your inspection as early in the fall as possible.
- Request estimates promptly, since contractor schedules tend to fill before winter.
- Prioritize repairs that stop water entry and address safety hazards first.
- Plan cosmetic or lower-priority work for spring if needed.
Frequently Asked Questions
When is the best time to inspect masonry in NYC?
Early to mid-fall is ideal. Leaves are often down, the weather is still mild, and there is time to schedule repairs before freezing temperatures arrive. A second check in spring helps you spot any new damage that developed over the winter, so you can address it during the warmer construction season.
Can I inspect my building’s masonry myself?
You can perform a basic visual inspection from the ground and from safe interior vantage points. Use binoculars and photos to document conditions. However, avoid climbing ladders or working near roof edges without proper safety equipment. Upper-level walls, parapets, and any signs of movement should be evaluated by a qualified professional.
What masonry damage is most urgent before winter?
Anything that lets water into the wall or poses a falling hazard should come first. That includes open mortar joints, cracked copings, failed sealant around windows, loose bricks, and spalling material above walkways. Bulging or displaced masonry should be evaluated immediately because it may indicate a structural concern.
Does my building need a Local Law 11 inspection?
FISP, formerly known as Local Law 11, applies to buildings higher than six stories. Those buildings require a facade inspection every five years by a Qualified Exterior Wall Inspector. The Department of Buildings notes that owners are responsible for confirming whether their building is subject to the program, so check official city records if you are unsure.
Can masonry repairs be done in winter?
Some repairs can be performed in cold weather with precautions such as heated enclosures and appropriate materials, but conditions are less forgiving. Many owners prefer completing mortar and brick repairs in the fall. Emergency safety work should never wait, though, regardless of the season.
How do I know if a crack is structural?
You usually cannot tell from appearance alone. Warning signs include cracks that keep widening, horizontal cracks with outward displacement, bulging walls, and doors or windows that suddenly stick. If you notice any of these, have a qualified contractor or engineer evaluate the wall before assuming it is cosmetic.
Conclusion
A thorough NYC masonry inspection checklist focuses on the places where water and weather do the most harm: mortar joints, brick and stone faces, parapets, lintels, chimneys, stoops, and drainage. Inspecting these areas before winter gives you time to seal water entry points, address safety hazards, and plan repairs while conditions still allow quality work.
Brick Tech Contracting Corp helps property owners throughout Brooklyn, Queens, Manhattan, the Bronx, and Staten Island with brick pointing, brick repair and replacement, parapet work, waterproofing, and facade restoration. Our team can assess the conditions you document and explain which repairs should come first.
If your walk-through turned up open joints, loose masonry, or signs of water intrusion, contact Brick Tech Contracting Corp to request an inspection and estimate before the cold weather arrives.